patterns >  Courtchet
> Baby Giraffe Amigurumi


Baby Giraffe Amigurumi
Gauge is not important. If you’d like to use a bigger hook, you’ll benefit a bigger giraffe. The compromise is the size of your holes.
Do not sell this pattern or modify it and claim as your own. Be cool.
Note: As this seems to come up often, I’ll post my assembly instructions here:
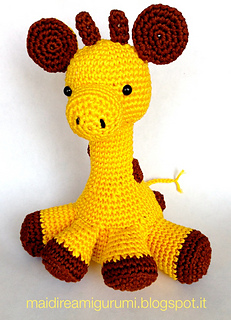
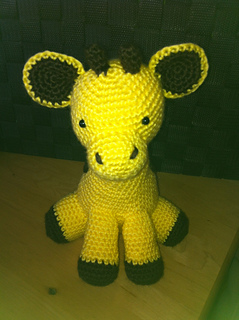
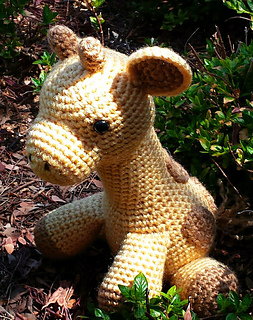
Everyone has different methods for assembly. I prefer to make all my pieces to start and then start assembly. The two ear pieces are sewn together with a simple whip stitch around the edges. Once sewn together, I pinch the ear in half where I want it to connect to the head (I prefer my ears to be mid way down the side of the head) and sew it on with a pinched look to give it a little curl inward. The snout is front and center of the face with your eyes positioned just above. It’s best to temporarily stuff the head to attach the snout (stuff it a little) for proper roundness and then remove the stuffing from the head to position your eyes. Once eyes are attached, stuff the head and body and sew your edges together. The front legs are attached at the center of the body low enough to touch the ground. The edges are flattened and sewn shut after stuffing. The back legs are attached close to the bottom so the giraffe is able to be placed in a seated position. The spots are sewn on afterward wherever you would like. The horns are between the ears on the top of the head. A tail can be added to the back end of the giraffe.
In some instances, people are unable to see the photo at the bottom of the PDF. I’m not quite sure why some are able and some are not. Hope this helps!
319666 projects
stashed
108666 times
- First published: May 2014
- Page created: May 17, 2014
- Last updated: March 20, 2022 …
- visits in the last 24 hours
- visitors right now


