patterns >  The Moule Hole's Ravelry Store
> Dottie Dress


Dottie Dress
Pattern Description
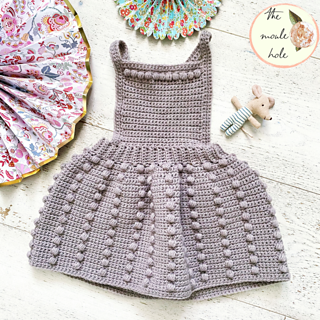
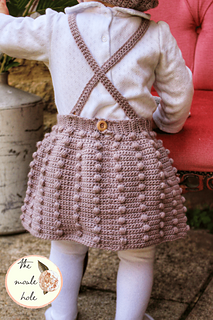
The Dottie Dress is so much fun to make and so easy too. It starts with a single crochet ribbing waistband. The ribbing needs to have a negative ease of up to 15cm/6in. This is so that the waistband fits snugly around the waist and does not fall off. Once the waistband is complete, you will make the skirt. There are two increase rows that coincide with the puff row. Next, the front panel is stitched back and forth across the top of the waistband ribbing. Two straps are stitched with 4 button holes at the end of each strap. This ensures that the dress will grow with your little one and will hopefully fit longer! Two buttons are secured to the inside of the waistband for each strap. The straps can be worn crossed in the back. Lastly, there are button holes and a button added to the back of the waistband for ease of getting in and out of the dress. Wear it with a collared blouse or a t-shirt in the summer! Make sure to make the matching Dottie bonnet!
Materials:
4.00mm(U.S G-6) crochet hook or size needed to obtain gauge
DK yarn. I used Rico Baby Classic DK in the colour Lavender (73).165m/180yds/50g per skein.
See chart above for approximately how much yarn you will need.
tapestry needle
3-4 buttons (2cm/075in)
Gauge:
20 sts/20 rows= 10cmX10cm (4X4 inch) in sc
Stitches and abbreviations used:
blo- back loop only
ch- chain stitch
n/a- not applicable
puff- puff stitch explanation in pattern notes
RS- right side
sc- single crochet
sl st- slip stitch
sp- space
st or sts- stitch or stitches
WS- wrong side
yo- yarn over
4011 projects
stashed
2175 times
- First published: April 2021
- Page created: April 29, 2021
- Last updated: April 29, 2021 …
- visits in the last 24 hours
- visitors right now


