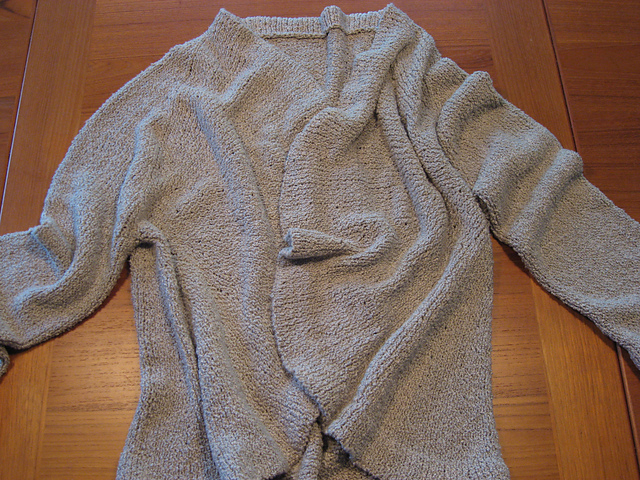
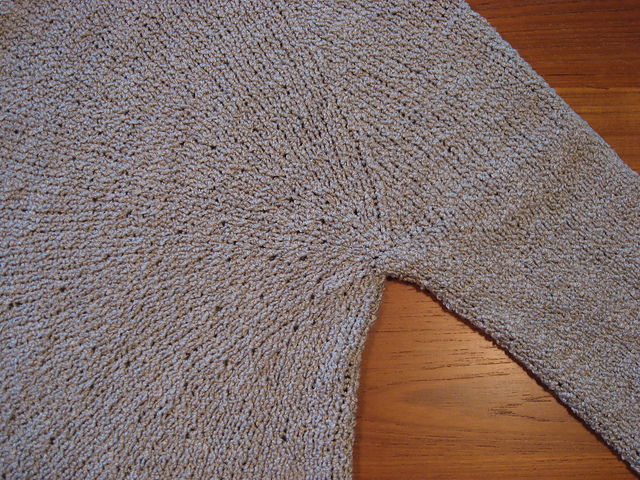
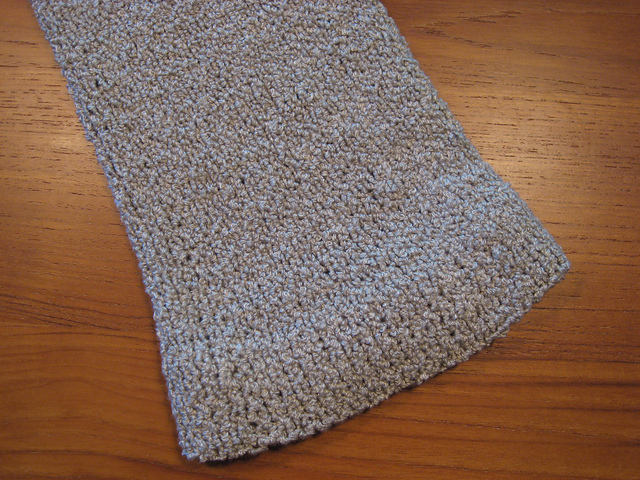
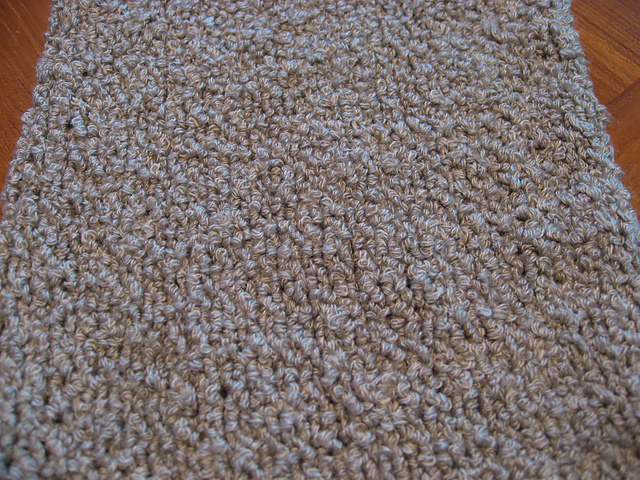
Knit in one piece, starting at the underarms. Body knit without side seams, with the three-quarter sleeves added later by picking up provisional cast-on stitches. The pattern adapts very well for this technique.
This experiment means the path of knitting starts at the side seam for the right front semicircle; up and back across the right shoulder; right-to-left across the back (including raglan decreases); forward and down across the left shoulder; left front semicircle; then rounding down across the lower back left-to-right; and then the right front again…
If you can make sense out of an M.C. Escher drawing, you can do this sweater this way.
[[jenniferaf]1 started a similar jacket here; her stripes make it easier to see the path.]
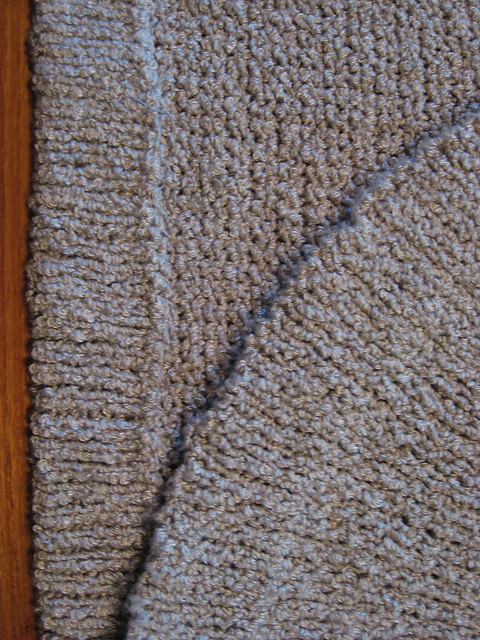
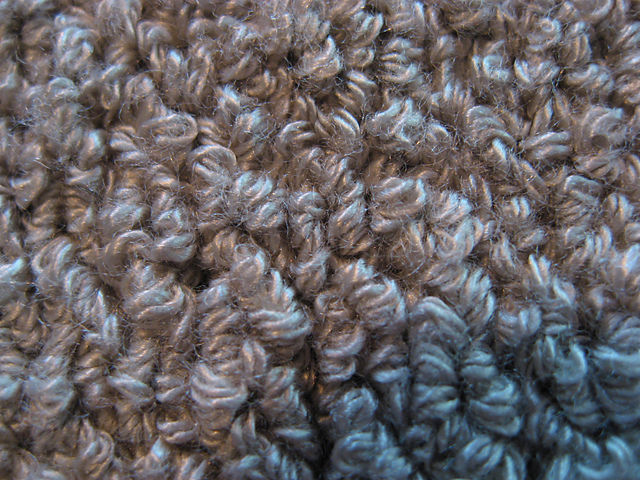
If this wasn’t challenging enough, I am using a springy bouclé yarn that makes it almost impossible to knit an accurate swatch (I assume it will stretch a bit) or identify where increases and decreases are in the fabric. And this pattern is ALL about the increases.
Because the bouclé gaps a bit in the center of a column of knit stitches, I am also knitting every other row (WS) through the back loop. This will tighten up the fabric a bit and make it more stable (less saggy). The notes below won’t include this kbl.
May 2011 | I started this in May 2010 and finished the sweater a while ago, but forgot to upload photos. Final sweater is GREAT. I added two buttons to the upper chest edge of one side of the cardigan, to close it above my chest and leave the bottom open. The second “scrunched up” photo shows how the finished fabric is thick (but light) and drapey. It’s perfect for cool summer nights.
tips
I used a lot of different colored markers, and made notes on the schematic drawing to remind me that GREEN was the start of a row, PINK marked the back, etc.
For the increases on the front semicircles, I counted off the places where the increases would go on that round and marked those places with split-ring markers. These were easy to slip into place on my cable needles. Then, as I knit the long row, I didn’t have to count as I knit -- just made the increases at the split-ring markers.
I also edited the PDF of the pattern to strip out the instructions for the other sizes. MUCH easier to just focus on the numbers for this size.
cast on
Size 37”. At the widest point of the arms, just before the start of the fronts, there are 58 sts. Back has 86 sts.
58 + 86 + 58 = 202 sts provisional cast on, using a spare cable.
There is a single stitch for seam allowance on the back raglan edges. I’m just going to knit those anyway so I don’t have to re-do the stitch counts for all the rows.
Place markers between the back and sleeves.
set-up row A
Knit across the 202 sts. Leave the provisional sts as is.
set-up row B
Purl across the 202 sts.
row 1
Begin instructions for Row 1 Right Front of pattern, then knit across the back from right to left, then finish the row using instructions for Row 1 Left Front.
Place 58 sts from each side of the provisional, not-yet-knitting side of the set-up row on holders (I used waste yarn). This leaves 86 sts in the center for the back.
Continuing from the completed Row 1 Left Front, knit from left to right across the 86 provisional stitches, connecting when finished to the start of Row 1 Right Front. Place a special marker here to keep track of the “beginning” of the round.
Whew! Deep breath.
row 2
Knit. (Here is where I did kbl to keep this squiggly yarn knitting a little tighter.)
Now the jacket is a wide loop, with two armholes on holders at either end. Imagine the perimeter of a hockey rink, with the armholes where the nets are. Clear, right?
row 3
Work Row 3 Right Front; k across the back; Row 3 Left Front; k across the back.
row 4
Knit.
row 5
This is where the raglan and dart shaping begins. Work Row 5 Right Front (including raglan decreases); Back w/ raglan shaping; Row 5 Left Front; k across back (including dart shaping).
Note that raglan decreases are not the same for front and back pieces.
I marked up my pattern to note which rows will have raglan decreases for the Back piece (5, 7, 11, 13, 17, 19, etc.).
Dart decreases -- remember, since the lower back is worked from the “top” (armhole) down, the darts are decreased first, then increases closer to the hem -- are marked for rows 5, 11, 17, 23).
21 June
Truffles is knitting up to be very nice for this pattern: swingy and slinky, but thick. Knitting through the back loop on alternating rows helps jeep the fabric tight. Compared to other versions of this jacket, which are more constructed and shorter, this has nice drape past the bellybutton.
Since the back is knit seamlessly with the fronts, the lengths match perfectly, eliminating the problem mentioned by others about the back not measuring the same as the fronts.
Armholes are generously sized -- knitting on 50 instead of 58 stitches might have been an improvement. But this jacket isn’t intended to be fitted, and this yarn makes it very loose and drapey, so probably okay in the end.
 schmeg >
  notebook > projects > No-Seams Sunrise Circle Jacket
74 projects
stashed
285 times


 handspun
 queue
queue favorites
 friends
 needles & hooks
 library
